
<!DOCTYPE html>
How to Create a Professional and Impactful Signature Line in Microsoft Word
In the realm of professional communication, your email signature serves as your digital business card. It’s often the first impression you make on potential clients, colleagues, and stakeholders.
A well-crafted email signature line can enhance your credibility, promote your brand, and make it easier for others to contact you. In this comprehensive guide, we’ll delve into the art of creating a signature line in Microsoft Word, exploring its significance, latest trends, and expert tips to help you craft an outstanding impression.
Why Having a Signature Line Matters
An email signature line is more than just a fancy addition to your emails. It serves several important purposes:
- Professionalism: A well-designed signature line conveys professionalism and attention to detail, making you appear more trustworthy and credible.
- Brand Promotion: Your signature line provides a subtle opportunity to promote your brand or business. Consider including your company logo, a link to your website, or your social media handles.
- Contact Information: A clear and concise signature line ensures that your recipients have easy access to your contact information, fostering seamless communication.
Creating a Signature Line in Microsoft Word
- Open the Signature Editor: Go to the “Mailings” tab in Word and click on “Signatures.” Select “Create New” to open the Signature Editor.
- Enter Your Information: In the “Signature Editor,” enter your name, job title, company name, and any other relevant information you want to include.
- Customize the Font and Style: Choose the font, font size, and text color that best represents your brand and professional image.
- Add a Logo or Image: To add a logo or image, click on “Insert” and select “Image.” Navigate to the image file on your computer and click “Insert.”
- Create a Hyperlink: To create a hyperlink in your signature line, select the text or image you want to link, right-click, and select “Hyperlink.” Enter the URL in the “Address” field.
- Preview and Save: Preview your signature line by clicking on the “Preview” button. Once you’re satisfied, click “OK” to save your changes.
Expert Tips and Advice
- Keep it Concise: Your signature line should be brief and to the point, containing only the most essential information.
- Use a Professional Image: If you’re including a logo or image, ensure it’s high-quality and professionally designed.
- Include Social Media Links: Consider adding links to your social media profiles to connect with recipients beyond email.
- Test Your Hyperlinks: Before sending out emails, double-check that all hyperlinks in your signature line are working correctly.
- Update Regularly: As your contact information or brand changes, remember to update your signature line accordingly.
:max_bytes(150000):strip_icc()/Sigs_Word_03-c1416006f3bb4027901e1982a73c158f.jpg)
Image: www.lifewire.com
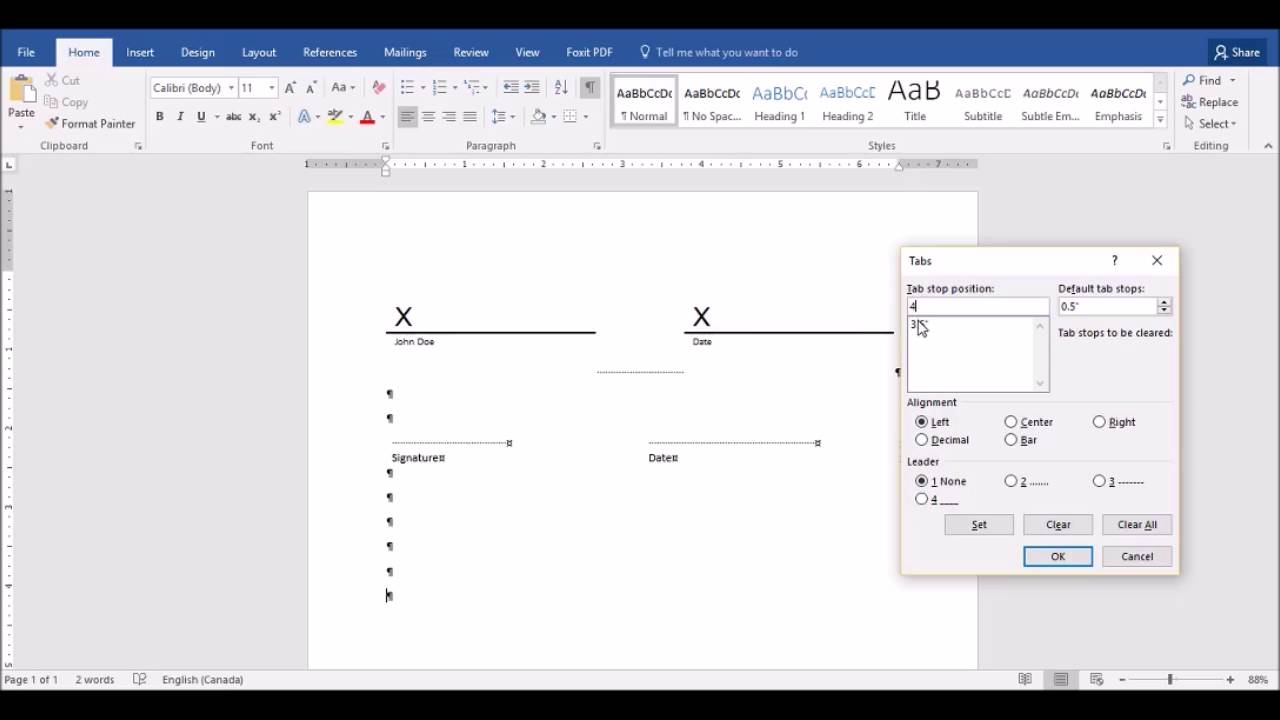
Image: m.youtube.com
Add a signature line – Microsoft Support Use the Signature Line command to insert a signature line with an X by it to show where to sign a document. Click where you want the line. Select Insert > Signature Line. Select Microsoft Office Signature Line. In the Signature Setup box, you can type a name in the Suggested signer box. You can also add a title in the Suggested signer’s title
